 When I was a teenager, my Uncle Bill taught me how to make real cinnamon buns. You know, the kind with yeast-based bread? It was a revelation and became one of my favorite treats to make. One batch would make a whole delicious pan, full of thousands of gluten-filled calories. And last about an hour. To this day the smell of cinnamon reminds me of family vacations (which often ended up being adventures) to visit my uncle.
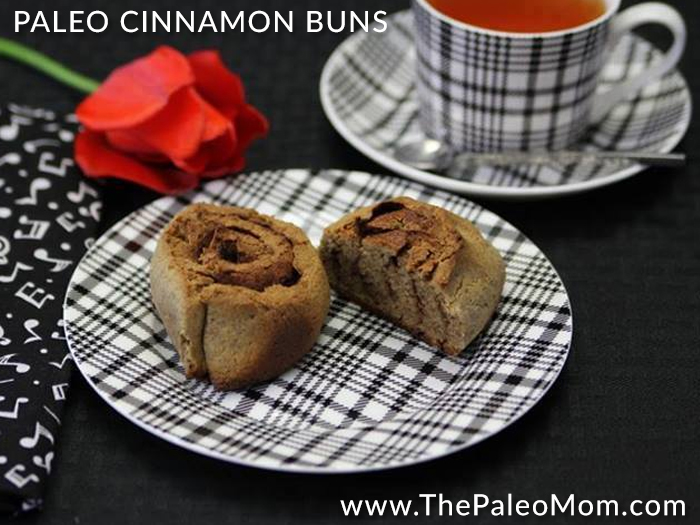
My oldest daughter especially loves cinnamon, so I was inspired to try and modify my yeast-based Paleo bread recipes to create a Paleo adaptation of my once famous cinnamon buns. It actually took some fairly major modifications to the bread recipes to make a dough elastic and solid enough to roll. Compared to the regular cinnamon buns that I used to make, these are not quite as fluffy nor as elastic (and capturing that texture wasn’t worth using a gut irritating ingredient like xanthum gum or psyllium husk, since they are pretty awesome as is). But, I was able to capture the flavor and a nice bready texture. My kids are in love.
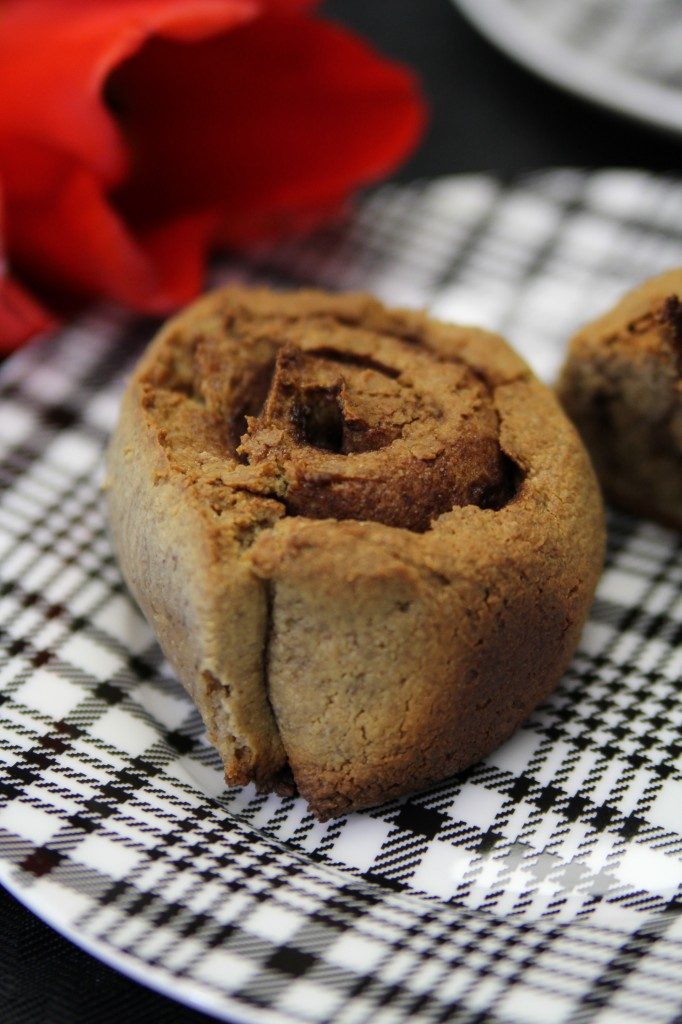
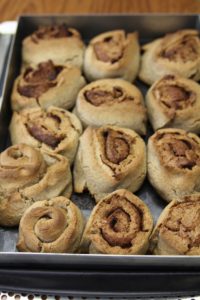
I’ve made these twice now, once more generously filled with sugar and cinnamon and once more stingy. I think they work better when you’re more generous, but they do work if you want to cut the cinnamon filling in half and makes these a little less sweet. The photos are actually from the stingier batch, but the recipe reflects the more generous filling.
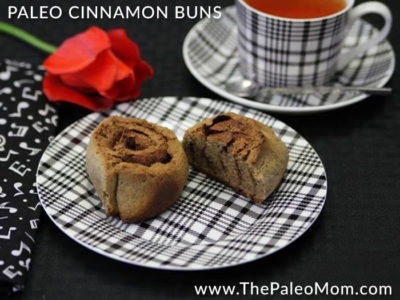
These roll fairly easily. They are a little tricky to cut though. If you want perfect looking cinnamon buns, I would suggests rolling out each one individually instead of making the usual big long role and slicing off individual rolls. But, as you can see from the pan, they still look yummy, and they still pull apart enticingly well.
Ingredients (filling):
- 1/3 cup butter (or substitute lard, ghee or palm shortening)
- 6 Tbsp muscovado sugar or evaporated cane juice (muscovado gives a better sticky texture, but evaporated cane juice is easier to be stingy with)
- 2 Tbsp cinnamon
- 1/2 tsp cardamom (my Uncle’s secret ingredient)
- Extra butter or lard for greasing
- Combine sugar and spices in a bowl or spice shaker.
Ingredients (bread):
- 3 cups ground walnuts and pecans (measure after grinding, but its about 2 cups each of pecan and walnut halves, ground in a food processor until the texture of coarse sand or slightly finer–I typically make a big batch and save extra in the fridge)
- 3 cups Blanched Almond Flour (this works best with a very finely milled flour such as Honeyville Farms or JK Gourmet)
- 1 cup tapioca
- 6 eggs
- 1/3 cup butter (or substitute lard, ghee or palm shortening)
- 1 Tbsp apple cider vinegar
- 1 tsp salt
- 1 Tbsp Honey
- 1/4 cup warm water
- 2 tsp Active Dry Yeast
- Bring ingredients to room temperature (this is most important with ground nuts, almond flour, eggs and butter).
- Proof the yeast (which means wake it up and get it growing). To do this, combine yeast, honey and warm water (should be luke warm, not too hot). In about 10 minutes, it should be foaming.
- While waiting for the yeast to proof, combine the remaining ingredients in the bowl of a standing mixer (you could also use a Bread Machine to warm and mix your ingredients).
- Add the yeast and then mix on low speed for at least 5 minutes (up to about 10 if you get distracted).
- While you’re waiting, grease a 9″x13″ pan (you could also use a rimmed baking sheet or a muffin pan).
- If you have a silicone rolling mat, use that. Otherwise, line your counter with parchment (probably two sheets overlapping). In either case, grease the mat or the parchment with butter, lard or palm shortening.
- Pour out your sticky bread dough onto your prepared surface. Grease your hands and flatten the dough into a big rectangle about 1/2″ thick by hand.
- Spread butter over the surface of your rectangle. Sprinkle the entire surface with the sugar and spice mix.
- Now roll the dough into a log.
- Using a sharp knife, but 1-2″ thick slices of your dough log and transfer to your prepared pan. It helps to clean any dough off your knife in between each cut. Space at least 1″ apart in the pan. You can cut as man cinnamon buns as you want. This makes 12 quite large cinnamon buns or 18 smaller ones (I did a baker’s dozen). Don’t worry if they aren’t perfect swirls. As you can see from my picture, some are perfect some aren’t. They all taste good. If you have a reason why these need to look perfect, roll them out individually instead of the log method.
- Let rise in a warm corner of your kitchen for 45 minutes (I let mine rise in the oven with the light on and the door a crack open, and then take out to rise the last ten minutes on the stovetop while the oven is preheating). It’s normal for them to not rise very much but they will then puff up much more while baking.
- Preheat oven to 375F with oven rack in the top third of your oven.
- Bake for 25-30 minutes (closer to 20 minutes if you made them smaller).
- Enjoy!

