After 6 years of Paleo, and much of that on a modified Autoimmune Protocol, I’ve learned that one trick that can help us save time, money and stress: batch cooking for the freezer (learn more about why I love batch cooking in “3 Time-Saving Strategies for the AIP” and “5 Tips for Eating Paleo on a Budget”)! Those AIP freezer meals are a lifesaver when I’m strapped for time on busy weeknights!
Table of Contents[Hide][Show]
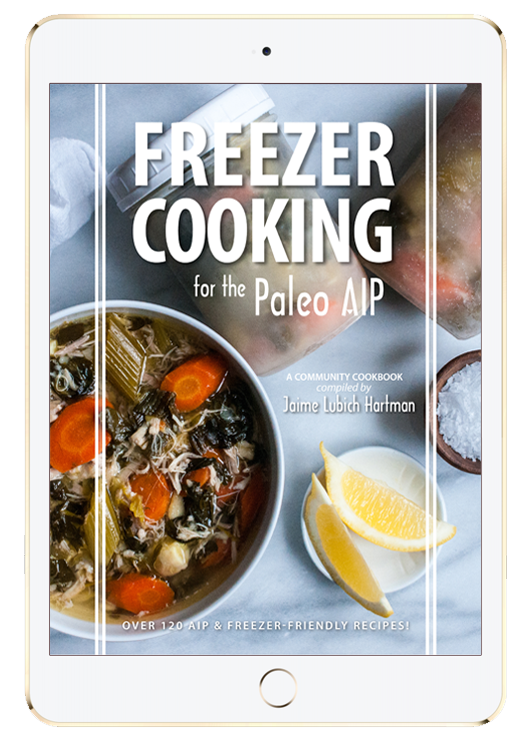
That’s why I’m so excited to be included in the amazing new e-book Freezer Cooking for the Paleo AIP! This book is an incredible collection of AIP recipes from the most talented recipe creators in our community—and every single one has either been created exclusively for or adapted to freezer storage!
Get Freezer Cooking for the Paleo AIP today!
Inside you’ll find 123 awesome recipes for AIP freezer meals from breakfast to dessert, recipes for special occasions, and plenty of inspiration to get your batch cooking efforts off the ground. The best part is, these recipes are all designed to be cooked in batches and frozen so you can pull them from the freezer when you need a quick meal!
 When you’re transitioning from a Standard American Diet to a Paleo or AIP one, it can be tough to wrap your head around how much time you’ll now be spending in the kitchen. Since it can be difficult to find compliant foods outside our homes, we can often find ourselves “stuck” cooking every meal of the day. Add a family to this mix and it might feel like we never leave the stove!
Batch cooking for the freezer is an easy way to get out of this rut. Whether you devote a few hours to batch cooking on the weekends or make extra volume at dinner to use for breakfast or lunch (my favorite strategy!), batch cooking can truly save our sanity.
Fill Your Freezer with 123 AIP Freezer Meals!
Freezer Cooking for the Paleo AIP is available as an instant download for just $18.90, an incredible value when you consider how much time and money you’ll save with these recipes!
What’s included:
- 30 contributors
- 123 recipes, all fully tested for compatibility with freezer storage & reheating!
- 73 were created exclusively for this cookbook, but every recipe has been adapted for freezing!
- All recipes include directions for packaging, freezing, storing, and serving!
- Includes dishes for every meal of the day and special occasions!
- Categories:
- Building blocks
- Breakfast
- Appetizers and snack
- Soups and stews
- Casseroles
- Main dishes
- Side dishes
- Desserts
Buy Freezer Cooking for the Paleo AIP now!
Save 70% Off the AIP Lecture Series!
Learn everything you need to know about the Autoimmune Protocol to regain your health!
I am loving this AIP course and all the information I am receiving. The amount of work you have put into this is amazing and greatly, GREATLY, appreciated. Thank you so much. Taking this course gives me the knowledge I need to understand why my body is doing what it is doing and reinforces my determination to continue along this dietary path to heal it. Invaluable!
Carmen Maier

Below is just one of the amazing recipes included in Freezer Cooking for the Paleo AIP. Enjoy!
Shredded Chicken Empanadas
Christina Maria Curp of The Castaway Kitchen
Serves: 10-12 empanadas
These little pockets of goodness take some work on the front end, but having ready to go food in the freezer that heats in 20 minutes is priceless. Perfect for grab and go meals, picnics or parties, these totally legit empanadas would make my Abuela proud!
Ingredients for preparation
- 1 tablespoon AIP friendly fat
- 1 large onion
- 2 cloves garlic
- 1 ½ pounds boneless skinless chicken thighs
- 1 ½ teaspoons fine sea salt (divided)
- 1 cup compliant sauerkraut
- ½ cup fresh minced parsley
- ½ cup bone broth
- 2 tablespoon molasses
- 1 ¾ cup cassava flour (more for dusting, as needed)
- 1 teaspoon cream of tartar
- 1 tablespoon grass fed beef gelatin
- ¼ cup + 1 tablespoon olive oil
- 1 tablespoon apple cider vinegar
- ½ cup water (approximately, as needed)
- 2 tablespoon olive oil (for brushing)
Preparation
- Heat a large cast-iron pot or skillet on medium heat. In the meantime, peel and dice the onion. Peel and mince the garlic. When the skillet has come to temperature, you can test this by drizzling water on the surface, when it dances it’s ready. Add in the fat, onion and garlic. Sauté until tender.
- Add in the chicken thighs and 1 teaspoon salt. Brown on all sides. Then add in the sauerkraut and the parsley. Mix well.
- Add in the bone broth and cover with a tight fitting lid. Lower heat to low. Cook for 20 minutes.
- Remove the lid, stir in the molasses and let it simmer until the liquid is reduced by more than half. Remove from heat, use two forks to shred the chicken. Set aside.
- In a large bowl mix whisk together the cassava flour, ½ teaspoon salt, cream of tartar and gelatin.
- Drizzle in the olive oil and vinegar as you keep whisking until the dough gets crumbly.
- Switch to a spatula. Next add in ¼ cup of warm water as you fold and mix with the spatula, add water one tablespoon at a time as needed until the dough is no longer crumbly.
- Move dough to a flat surface and knead with hands until it is well combined. It should be malleable but not sticky. If it’s sticky dust with flour and knead again.
- Make two equal sized flat disks with the dough and wrap in plastic wrap. Set in the fridge for at least 30 minutes.
- When ready to work with it again, prepare a flat surface, have the warm water at hand and more flour for dusting as needed. Unwrap one disk at a time; it will be tough and crumbly. That’s fine. Let it come apart on your flat surface then add 1 to 2 tablespoons of water to the dough and knead it back to a smooth malleable consistency. Divide the dough into various equal sized balls. Each disk should make about 5 balls.
- Set one ball in the center of your workspace, gently flatten with your hand. Cover with a piece of parchment paper and use a rolling pin to shape a 4-5 inch round, about the size of a tortilla. Use a spoon to fill with a small mound of shredded chicken. Then use spatula or dough scraper to lift the top side of the dough, gently fold it over and pinch the edges closed. You can gently roll them up a little to create a decorative border or use a fork to imprint on them. Scrape the empanada up and place on a baking sheet. Brush with olive oil.
- Repeat this with all of the remaining dough. If some of the dough dries out as it waits its turn to be made into a lovely empanada, simply wet your fingers and massage it back to malleable texture. Alternatively, if you overdo the water on one, lightly dust it to dry up.
Freezing
Once all of the empanadas are made, ensure they are spread out and not touching on the sheet pan. Place in the freezer for at least 3 hours. When they are properly frozen you can transfer them from the sheet pan to a freezer bag and store up to three months.
Serving
- Preheat oven to 400 degrees F.
- Place the frozen empanada(s) on a sheet pan. Bake for 15-20 minutes until the edges are golden.


