Ugh, I can’t eat eggs. I thought I had successfully reintroduced them after years on the autoimmune protocol, but they showed up on a food intolerance IgG antibody blood test that I did last winter (and I noticed a huge difference when I cut them out again). Almonds tested positive too. And the combination of losing those two baking ingredients has me experimenting with AIP or close-to-AIP recipes in my kitchen again. It’s tricky chemistry, but when things come together, boy is it exciting! This recipe is proof!
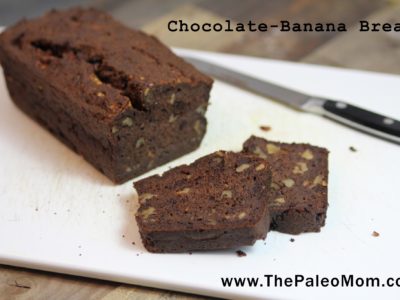
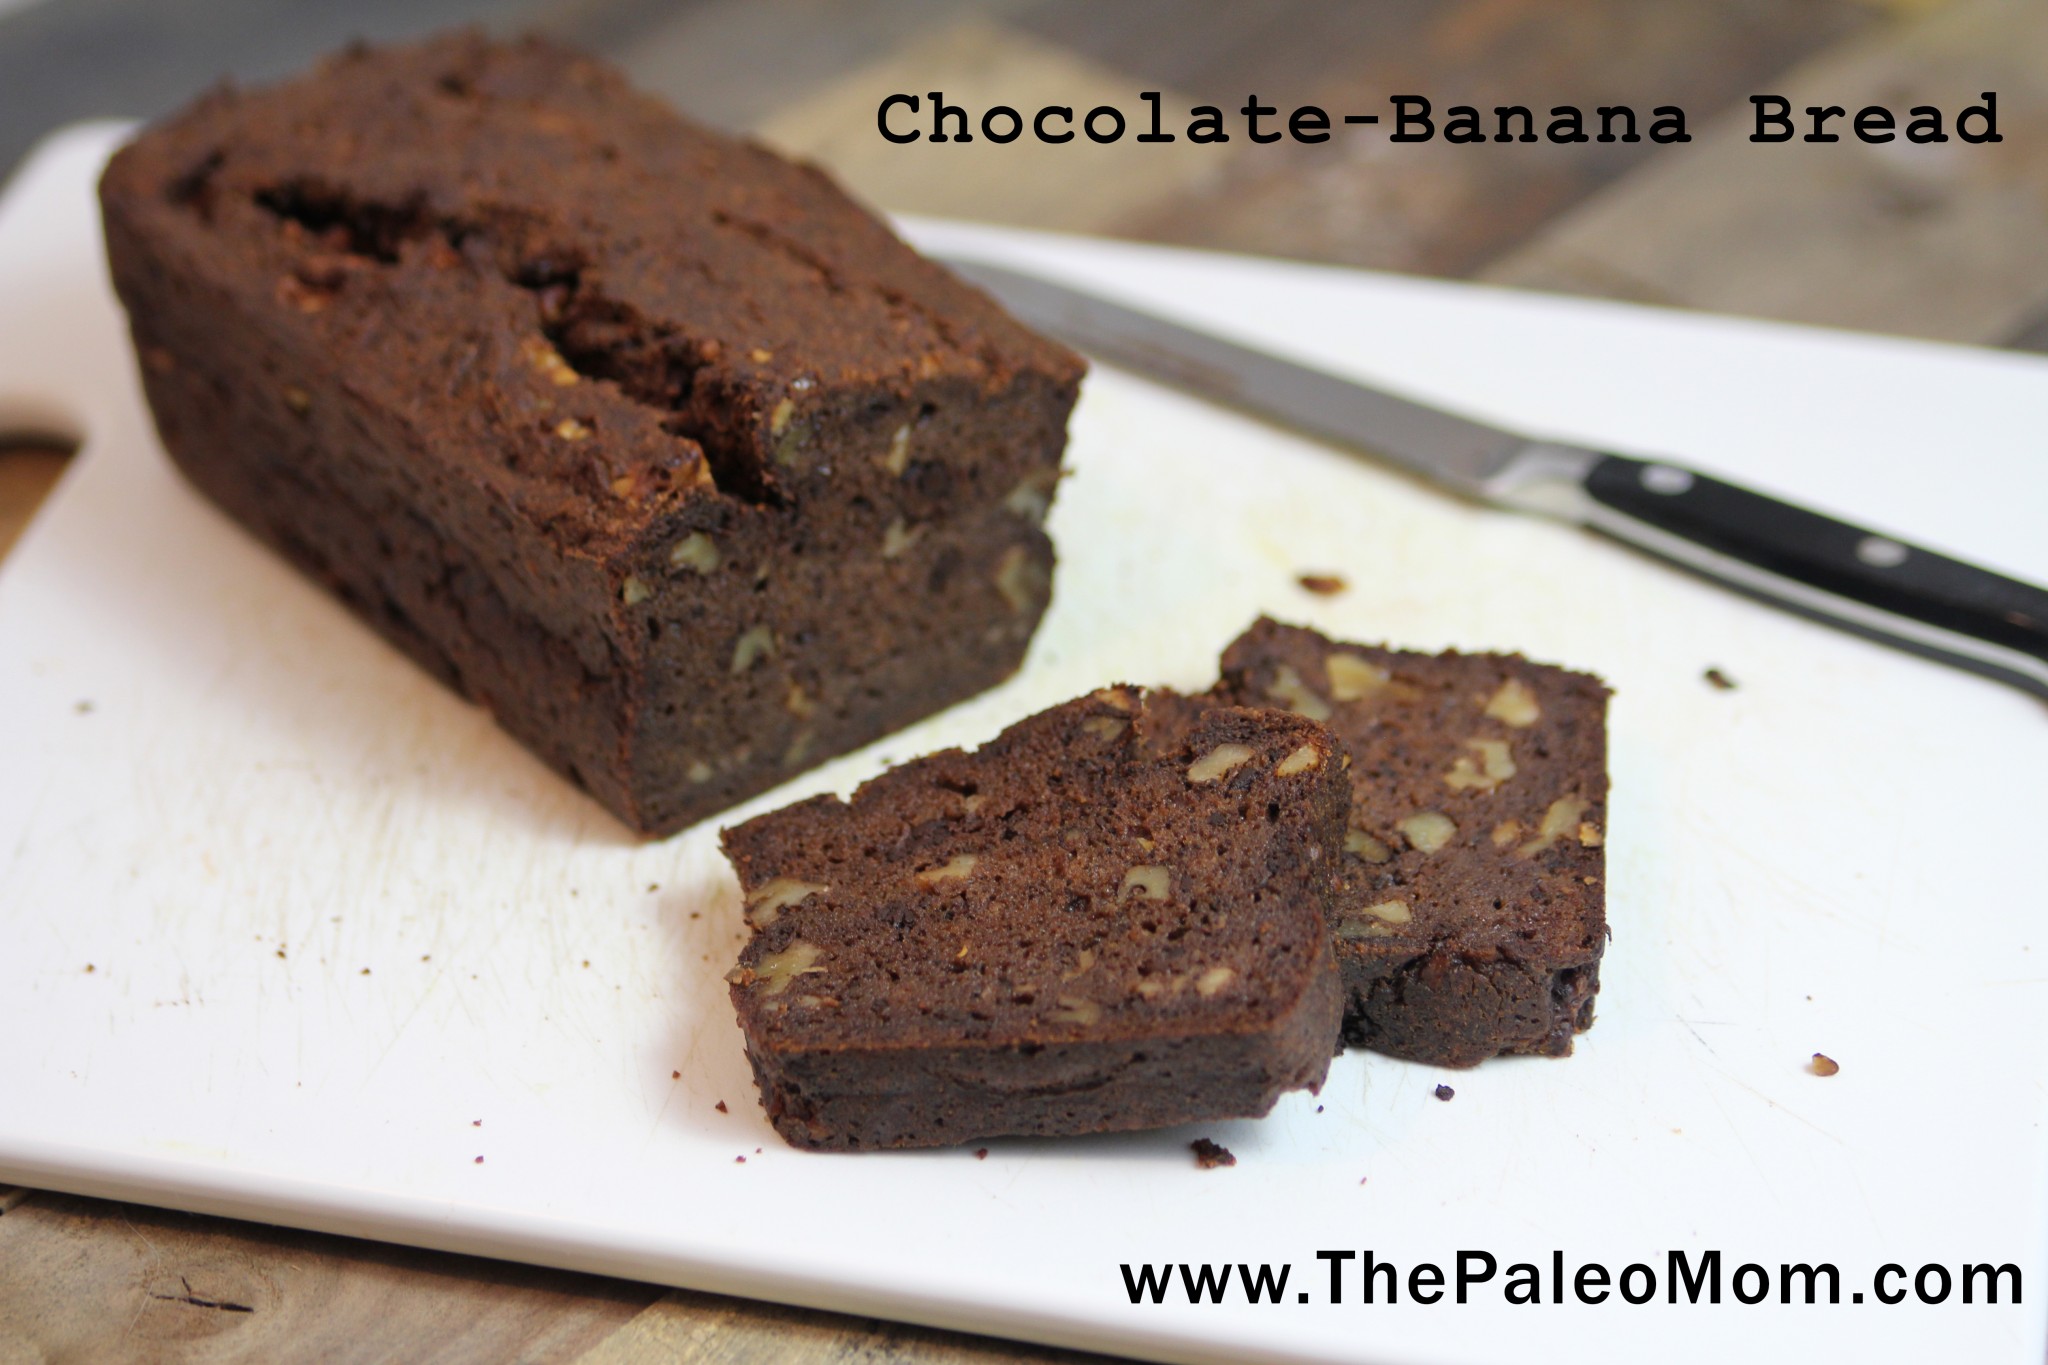
This Paleo-friendly version of Chocolate Banana Bread was borne out of my newfound love for cassava flour and a craving for something bready for a treat (while being frustration over the fact that most of my established recipes for anything that would fit the bill contained eggs). Cassava flour is different from tapioca flour (more on how they’re different here), since it’s made from the whole cassava root (rather than an isolated starch) and its chemistry is something completely unique in the Paleo Pantry. And I’m discovering that it’s absolutely magical when there’s other baking challenges (like no eggs!). It took a few tries to get the texture right, of course, but this final version has a great spongy soft texture and a delightful not-too-sweet flavor.
One of the biggest secrets to good banana bread is ridiculously ripe bananas. Ideally, they’d be nearly black on the outside. They’re sweeter this way, but they also have more water content and give the banana bread a spongier texture. I made this with 100% chocolate which made for a minimally-sweetened banana bread. If you want it sweeter, you can try using bittersweet or 85% chocolate instead. To make 100% dairy free, use lard or palm shortening as the fat. This recipe isn’t AIP (because of the chocolate and walnuts) but could easily be nut-free (and therefore completely allergy-free) simply by omitting the walnuts. (If you need it to be coconut-free in addition to nut-free, you can replace the coconut milk with water.)
Yield: 1 loaf (about 12-16 servings)
Prep time: 15 minutes
Cook time: 1 hour
Ingredients:
- 1 1/4 cups chopped raw walnuts
- 2 cups mashed very ripe bananas (about 4 large or 5 medium bananas)
- 3 oz unsweetened or very dark chocolate, grated
- 6 Tbsp ghee, butter, lard, or palm shortening melted
- 1/4 cup full fat coconut milk or coconut cream
- 1 Tbsp apple cider vinegar
- 1 tsp vanilla
- 1 1/4 cups cassava flour
- 1/2 tsp salt
- 3/4 tsp baking soda
Directions:
- Preheat oven to 350F. I think a silicone pan is always the best for Paleo baking, but you can use a standard stainless steal loaf pan too. Prepare a loaf pan by greasing with any fat (lard, coconut oil, butter, ghee, palm shortening, etc.) and “flouring” with cassava flour (you could use arrowroot powder here too for a cheaper alternative). Tap out excess flour.
- Spread walnuts over a rimmed baking sheet. Bake for 5 minutes to toast. Let cool slightly before adding to batter.
- Meanwhile, thoroughly mash bananas. Grate chocolate with a box grater or microplane zester. Add to mashed bananas.
- Mix in ghee (or other fat), coconut milk, apple cider vinegar, and vanilla.
- In a separate bowl, mix cassava flour with salt and baking soda.
- Add cassava flour mixture to banana mixture. Stir to form a thick batter. Fold in toasted walnuts.
- Pour into prepared loaf pan and spread the top out so that it’s even. Bake for 1 hour and use the toothpick test to check for doneness (poke a toothpick in the middle of the loaf; if it comes out gummy, give it an additional 5-10 minutes of baking time).
- Let cool in the pan for 5 minutes and then remove and transfer to a cooling rack. Let cool completely before serving (it’s tasty warm, but the texture is better cooled).
- Slice and enjoy! Store leftovers in an airtight container on the counter for up to a few days or in the fridge or freezer for longer.
Learn more about Cassava Flour from this video from my YouTube channel.


 Is Fructose a Key Player in the Rise of Chronic Health Problems?