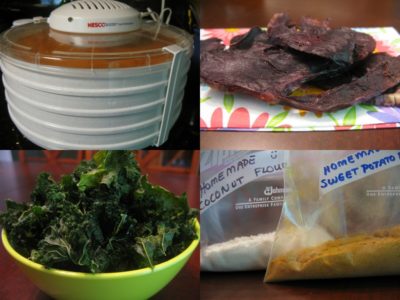
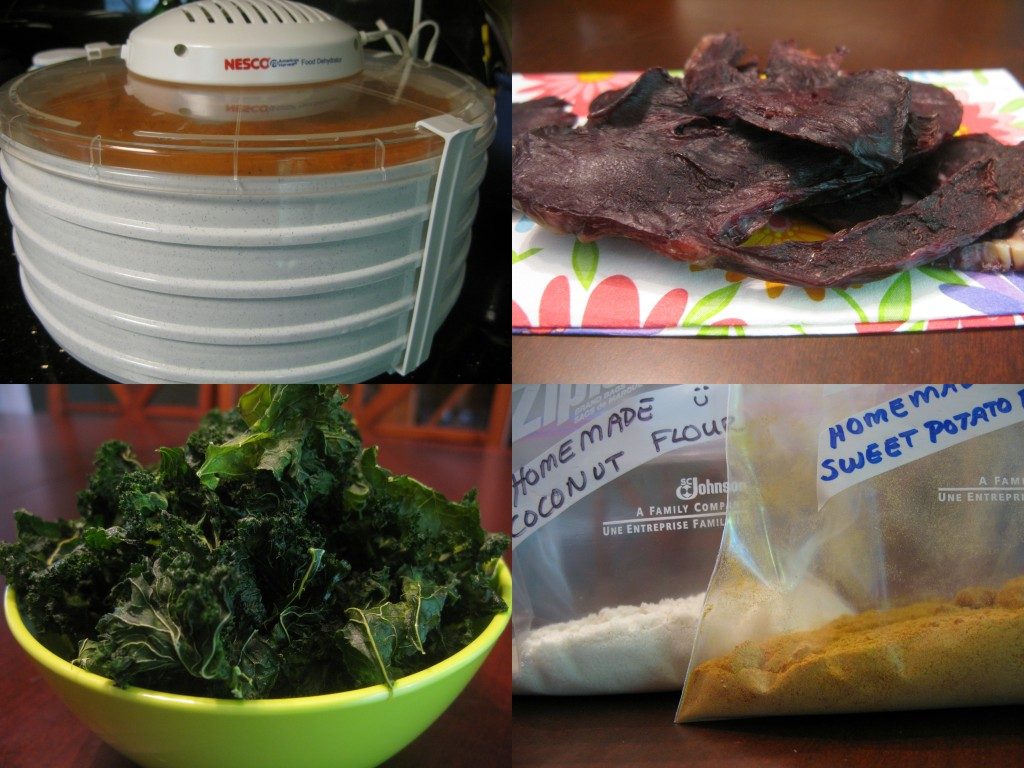
I never really understood the lure behind owning a Food Dehydrator until going Paleo. Once jerky became my emergency snack of choice, I was faced with having to read labels to minimize sugar content and make sure I was avoiding gluten. And jerky from grass-fed beef was prohibitively expensive. The first Paleo cookbook I bought that contained a jerky recipe was The Paleo Diet Cookbook
by Prof. Loren Cordain. I longed to try his recipe, but without a food dehydrator, I felt I couldn’t. Then I read Eat Like a Dinosaur
by Paleo Parents, which has three jerky recipes and even alternate instructions for using an oven. I did try two of their recipes (one was actually from their blog) in my oven. My oven’s lowest temperature is 170F so, while it worked, it was hard to control the texture. Lucky for me, I received a Food Dehydrator
as an early Mother’s Day Present. At my husband’s suggestion, I picked out which one I wanted and ordered it from amazon. When it arrived so quickly, my husband thought it was cruel to make me wait until Mother’s Day to actually start playing with it.
My Food Dehydrator is an entrance level model made my Nesco, who are well known for their dehydrators. The sticker price is about $50, but amazon has it on sale for $34 (with free shipping). It is a low-power model, only 400W, which means it takes longer than more expensive models. I don’t find this to be inconvenient at all because it still seems quite efficient. This might be because it does have a fan, which I highly recommend in a Food Dehydrator
since it dries much more evenly than models that only use a heating element, without the need to rotate trays. It sits on my counter and sounds a little quieter than a hair dryer while running (the fan does have the downside that it does make noise). It’s basic, with just an on/off switch, no temperature control and no timer. But it works beautifully! It comes with 5 trays, so I bought the 2-Tray Expansion
($13), which has already come in handy (although isn’t necessity). I also bought a pair of Fruit Roll Sheets
($7 for the pair), which are a complete necessity for making any homemade flours (I actually just ordered a second pair).
So, in the last few weeks, playing with my Food Dehydrator has been a frequent pastime. What have I made? Well, jerky of course! I have made grass-fed beef heart jerky twice already, which I love. I made salmon jerky, which was also very good. I have made kale chips more times than I can count. The great advantage to making kale chips in the dehydrator is that they actually keep for up to a week! I made two different flavors of fruit leather, which my husband loves and has requested I make again. I have dehydrated the coconut pulp leftover from making coconut milk in order to make coconut flour. I have dehydrated mashed sweet potato in order to make sweet potato powder (not to be confused with sweet potato starch/flour which is a processed starch from sweet potatoes). I have even made cookies! I am in love! I have so many ideas for other ways to take advantage of this handy little gadget (next up, dried banana slices for the kids). It now qualifies as my absolute favorite Paleo kitchen tool.
Save 80% Off the Foundations of Health
Expand your health knowledge on a wide range of topics relevant to you, from how to evaluate scientific studies, to therapeutic diet and lifestyle, to leaky gut and gut microbiome health, to sustainable weight loss, and much more!!!

I thought you might be interested in some general guidelines for some of the things I’ve made so far (these are too simple to be posted as stand-alone recipes). Even if you purchase the same model dehydrator as I have, your kitchen conditions will affect the drying time. Especially as it gets closer to the suggested length of time, check and see if it’s ready.
Beef Heart Jerky: Slice beef heart ¼” thick. It’s easier to slice while partially frozen, so I take it out of the freezer and place it in the fridge the night before. I trim off any vessels and big chunks of fat but don’t bother trimming off sliverskin or smaller fat layers. I lay the slices on the trays of the food dehydrator, leaving only minimal space between the slices. I sprinkle with salt (I like them plain, but you could use whatever jerky seasoning you like here) and dry for 4½ hours. Since this jerky is not cured, it has to be stored in the fridge or freezer but is still okay to keep at room temperature for a couple of days if you want to stash some in your bag for lunch.
Salmon Jerky: Slice wild-caught salmon ¼” thick, removing any bones as you encounter them. I lay the slices on the trays of the Food Dehydrator, leaving only minimal space between the slices. I don’t use any seasoning. Dry for about 4 hours. Salmon jerky is naturally much softer than beef jerky because of the fat content. Since this jerky is not cured, it has to be stored in the fridge or freezer but is still okay to keep at room temperature for a couple of days if you want to stash some in your bag for lunch.
Kale Chips: Tear kale into pieces (the dehydrator can actually handle larger pieces than doing this in the oven and it also doesn’t matter so much if they are damp after washing). Very lightly sprinkle with olive oil and rub into the leaves to evenly coat (I would guess I use about 1 Tbsp oil per 8-10 cups of leaves). Sprinkle with salt, to taste. Pile on the trays (I usually do alot at once and stuff them in there). Dry for about 2 hours, depending on how densely packed they are.
Fruit Leather: Puree some fruit. It can be raw or cooked or both. It can be peeled or unpeeled. I used pure strawberries for one flavor and a mix of strawberry, apple and peach for the other flavor. You could sweeten with some added honey, but I didn’t. Pour onto the Fruit Roll Sheet(as much as you can get on without overfilling). Dehydrate for 6-8 hours, until leathery (it might be just starting to get crunchy on the ends). Peel off fruit roll sheet and cut into slices. Store with wax paper between the slices so they don’t all glob together. If you use raw fruit, you will need to keep this in the fridge too. If you use cooked fruit, it should be okay at room temperature.
Coconut Flour: Spread the pulp from making homemade coconut milk on a Fruit Roll Sheet, breaking apart any big clumps. Dry for about 4-6 hours, depending on how deeply your pulp is spread (you want it to be completely dry, I had one batch I dried for 15 hours because the pulp was piled quite high). Process in a Food Processor
or Blender
for about 3 minutes to grind into a fine powder for baking. The yield is about 1 cup of coconut flour per 3 cups shredded coconut used to make homemade coconut milk.
Sweet Potato flour: This flour is not like the sweet potato flour/starch that you can buy. It still has all the nutrients and fiber, rather than being a processed starch. And I’m starting to play with this alot in some recipes (and even more so with Pumpkin Flour and Carrot Flour, which are made in the same way, since these are SBIO-friendly). To make it, boil whole sweet potatoes for 30-40 minutes, until they fall off a knife when speared. Drain and let cool. Peel off the skin (it should come off very easily) and place in a bowl. Mash with a potato masher or immersion hand blender. Spread on Fruit Roll Sheet and dry for 24-30 hour until it breaks into rock hard little pieces (I peel it off the Fruit Roll Sheet
once it’s fruit leather consistency, around the 12 hour mark, and place it on the tray, which helps it dry faster). Process in a Food Processor
r or Blender
for about 1 minute to grind into a fine powder for baking. The yield is about 1 cup of sweet potato flour per 6 cups mashed sweet potato (depending on the moisture content of your sweet potatoes).
Don’t forget to try my Pumpkin Spice Dehydrator Cookies! And as I continue to play with this awesome kitchen tool, I’m sure I’ll be posting more and more recipes that take advantage of it!


