My original yeast-based Paleo bread recipe has received so many enthusiastic comments. I know that having a delicious Paleo bread recipe has been essential in my home. It can be a life saver with kids and for people struggling to adhere to a Paleo diet. Many of you have reported success making it without a Bread Machine, using the recipe as the base of a pizza crust, adding raisins and cinnamon to make cinnamon bread, and even using the recipe to make dinner rolls!
This recipe is very similar, except it has no nuts. I had several reasons for creating a nut-free yeast-based Paleo bread. Many of you have asked for a nut-free bread recipe for you children with allergies or to send with your child to their nut-free schools. My mother-in-law is allergic to nuts and I want to have a good bread option for her visits. I seem to be very sensitive to almonds especially, so while I can eat a slice of this bread occasionally, I can’t even eat a bite of my original yeast-based Paleo bread recipe. Plus, almond flour is very expensive. This loaf is definitely cheaper to make. Why use yeast? Because that’s what makes this really taste like bread. If you haven’t read it yet, you may be interested in my post Is Yeast Paleo? (hint: the answer is yes).
I spent over two months baking 2 or 3 variations of this recipe each week. This recipe was much trickier to perfect than my original yeast-based Paleo bread recipe (which wasn’t easy either!). As such, I recommend measuring your ingredients carefully. You may be able to get away with some substitutions (I think sunflower seeds would work in place of pepitas, for example), but if you make a lot of substitutions, I can’t promise your bread will turn out.
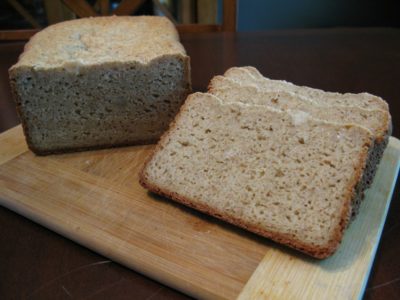
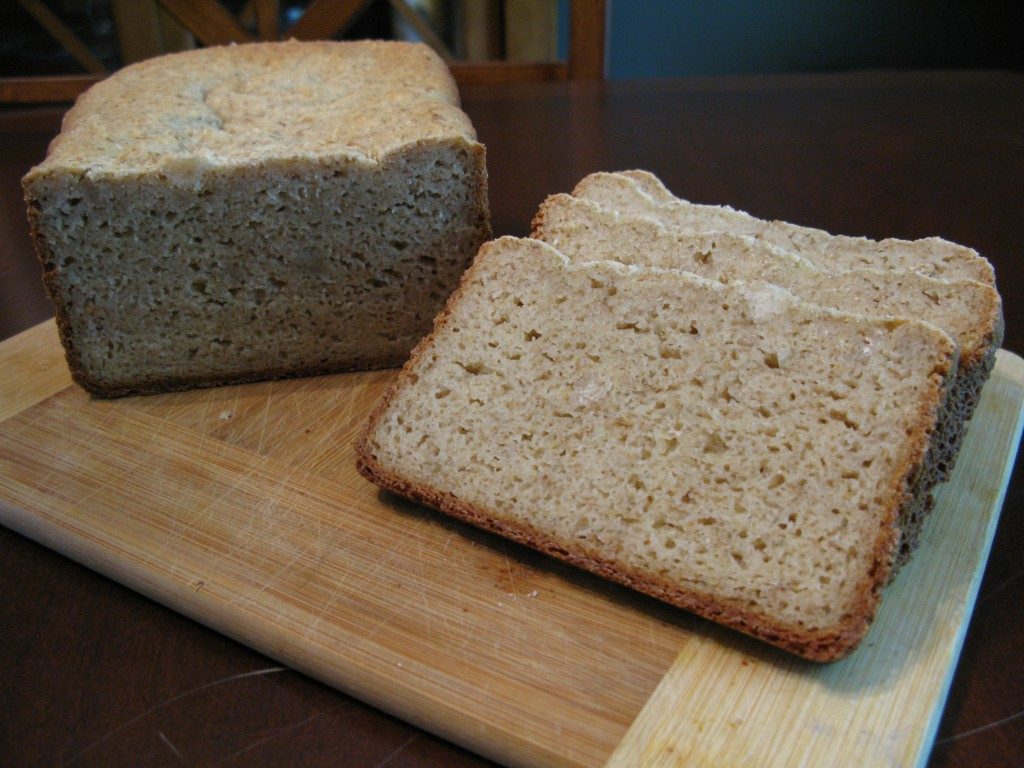
This bread holds together beautifully, so it’s great for sandwiches and toast (it takes a while in the toaster, but be patient because it’s worth it). It’s also closer to a normal loaf size than my other recipes. My loaves are typically a little over 3” high, equivalent size or slightly smaller than a 1.5 pound loaf in your Bread Machine (but it is denser). My Bread Machine
does 2-pound loaves, but I am very confident this would work in a 1.5-pound loaf machine (if anyone tries it in a 1-pound loaf machine, please comment as to whether or not it cooks through and fits into the loaf pans for those machines). As with all gluten-free bread recipes, it doesn’t rise much. That’s okay. It also will never have a dome top. That’s okay too.
I make this bread in a Bread Machine, which is certainly the easiest way to make this bread (gluten-free bread can be tough to get a pretty surface with made the old fashioned way, but it’s certainly possible!). As with all homemade bread recipes, the temperature, humidity and altitude of your kitchen can impact how the bread rises. You may need to subtract or add 1 Tbsp of water to this recipe to make it work in your kitchen. You’ll know to subtract a little water if your loaf is a little concave on top. You’ll know you need to add water if the top is crumbly looking. You can optionally use Mineral Water to add a little extra rise and lightness to your loaf, but the difference is small compared to regular water, which is what I am in the habit of using.
I hope you love this bread as much as my family does (it’s now the only bread recipe I bake on a regular basis). I store this bread in a plastic resealable bag with a piece of paper towel wrapped around it in the fridge. I’ve also sliced and then frozen loaves with great success.
- 1½ cups Water
- 2 Eggs
- ¾ cup Golden Flaxseed Meal
- 1¼ cup Tapioca Flour
- 1¼ cup Arrowroot Flour
- 2/3 cup Coconut Flour, sift after measuring
- 1 cup Raw Pepitas (Shelled Pumpkin Seeds)
- 1/3 cup Extra Virgin Coconut Oil
- 2 Tbsp Apple Cider Vinegar
- 2 Tbsp Honey
- 1 tsp Salt
- 2 tsp Active Dry Yeast
1. Pulse pepitas in a food processor or blender until powdered (should be anywhere between the consistency of sand and finely ground nut flours).
2. Mix water, eggs, ground flaxseed, salt, honey, and vinegar in the bottom of your Bread Machine pan. Use a fork to break up the eggs and mix the ground flaxseed in well. Let sit 2 minutes before adding the dry ingredients.
3. Add coconut oil, coconut flour, ground pepitas, tapioca and arrowroot flour on top of wet ingredients. Sprinkle yeast on top of the flour (or follow your Bread Machine’s directions).
4. Use the whole wheat cycle on your Bread Machine. Very Important: My Bread Machine
had a hard time mixing these ingredients because the dough is fairly stiff. Check during the initial knead that the ingredients are mixing well and none are sticking to the edge of the pan (if they are, use a spatula to gently push them down into the rest of the dough and maybe even help mix the dough, depending on your machine).
5. Remove promptly after your Bread Machine is done. Enjoy!
If you want to bake this bread without a Bread Machine, these instructions reflect the best results reported by those of you who left comments on my original yeast-based Paleo bread recipe or sent me emails to report on your success:
1. Proof your yeast by warming the water (should feel comfortably warm and not too hot) and adding the yeast to the water. You can do this in the bottom of your mixing bowl. It should start to foam in 5-10 minutes.
2. Add the flax meal and the rest of the wet ingredients to the proofed yeast. Let sit for 2 minutes.
3. Add your dry ingredients and stir to fully incorporate (you may want to use a standing mixer with a paddle attachment or you could do this by hand). It would be helpful if your ingredients were room temperature or slightly warmer.
4. Let rise in a warm corner of your kitchen for 45 minutes to 1 hour. A great way to rise bread is to put in on your oven with the oven off but the oven light on.
5. Pour the batter into a greased standard-sized loaf pan. Spread out the top evenly.
6. Let rise another 45 minutes (toward the end of that time, take it out of the oven if that’s where it was and preheat your oven to 350F).
7. Bake for 55-65 minutes, until golden brown on top and a toothpick comes out clean.

